Tutorial: Creating Dotted Shapes Using Photoshop

I have to admit, I don’t usually create my dotted or dashed lines in Photoshop, I do them in Illustrator because it gives me more control over strokes. But fret not, you can create nice dotted shapes in Photoshop too. Today we’re gonna learn how to create dotted shapes. You can apply this method to any shape. In today’s example, I’ll walk you through the steps in creating a dotted circle. There are 5 images in this tutorial (not including the example above)
Have you created a dotted brush? If not, please follow the Creating Dotted Lines Using Photoshop tutorial. Additionally, you may want to learn how to create Colourful Dotted Lines. Please have the correct brush and colours selected before proceeding with this tutorial.
Tutorial: Colourful Dotted Lines in Photoshop
Previously, we learnt how to customise a brush to create dotted lines in Adobe Photoshop. Today I’ll show you a how to customise your brush further to create multi-coloured dotted lines.
Create a dotted brush or select a dotted brush you’ve saved earlier from the Tool Preset.
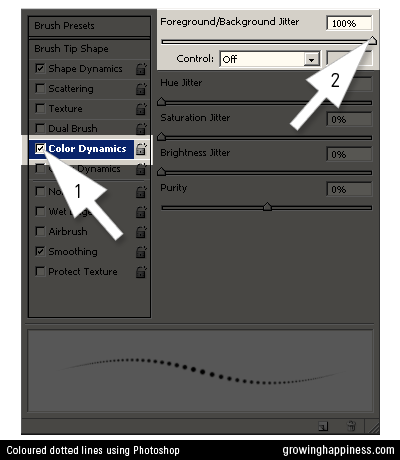
On your Brush Palette, check the Color Dynamics box (Giant Cursor 1).
Then set the Foreground/Background Jitter to 100% (Giant Cursor 2).
Lower values will result in the foreground colour being used more than the background colour.

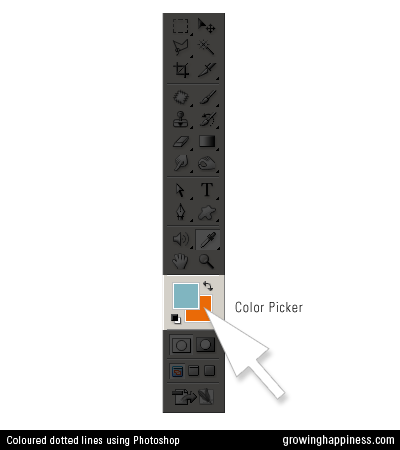
Use the color picker to select two contrasting colors.

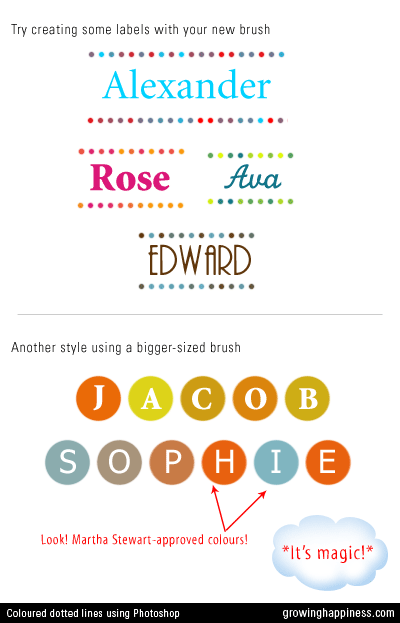
Try placing letters over bigger brushes for a different look.
The dots work nicely for name labels and scrapbooking.
Here are examples using names from my Favourite Names List.


